Ryan E. Day | Contributing Editor / Content-Marketing Coordinator | Quality Digest | August, 20 2019
FARO® Products Help Composiflex Achieve Certification and Deliver Industry-Leading Service
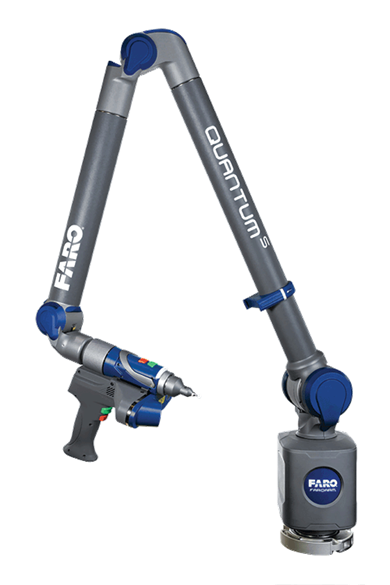 Certified to AS9100D with ISO:2015, Composiflex has been designing and manufacturing high-performance advanced composites for more than 30 years. The company serves a number of markets including aerospace, communications and radar, medical, and defense and government. Composiflex’s World-Class Initiative includes two key values of the standards to which they are certified: customer satisfaction and continuous improvement. FARO inspection technology is integral to Composiflex’s efforts.
“Investments in FARO products are helping us support our World Class Initiative,” says Marty Matthews, Sales and Marketing Executive at Composiflex. “For the past few years we’ve carefully identified the proper investments to satisfy our customers and grow our business.”
Customer Satisfaction
Composiflex committed themselves to the spirit of the standards and purchased specific equipment with specific goals in mind.
Some of our largest customers are multi-billion-dollar enterprises. These companies come back to us again and again for new projects. We're proud of the support that we're providing them.
Marty Matthews
Sales and Marketing Executive at Composiflex
“An important part of our buying decisions had to do with the reporting capabilities of FARO solutions,” says Matthews. “The pictorial graphics, color maps, and other types of reporting capabilities were far superior to the other options out there.
“Our customers have different quality plans with different inspection requirements. We typically perform first article inspection at the beginning of a project plus additional detailed inspection during production, when a new tool is introduced, or when a process is changed. Oftentimes multiple parts have to be inspected and the report has to be approved before we can move on to volume production.”
Inspecting to 3D models provides much more detail about the quality of each product. We use this valuable data to assist in continuous improvement of our processes and products.
Rhonda Sutter
Quality Assurance Manager at Composiflex
3D inspection capability has become indispensable for Composiflex’s client/provider relationship.
“3D Inspection is really valuable to us and our customers,” says Matthews. “Some of our customers require comprehensive GD&T information on the reports. Before we had 3D inspection equipment, like the FARO QuantumS ScanArm, those fields would often include entries like ‘unable to obtain.’ As our customer inspection requirements have continued to increase, our FARO equipment has been instrumental in supporting those requirements.”
Using FARO solutions also greatly improved how Composiflex communicates with their customers.
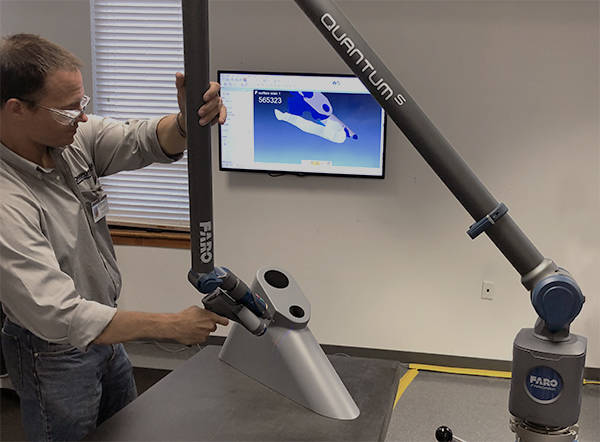
“I’ve been in quality for over 30 years in several different industries. Communicating exactly how inspections are performed to our customers is not always easy,” explains Rhonda Sutter, Quality Assurance Manager at Composiflex. “Since implementation of the FARO equipment, that is no longer an issue for us.”
Continuous Improvement
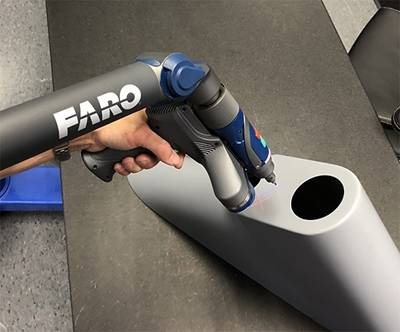
Like many manufacturers, Composiflex’s history includes inspection tools such as calipers, rulers, radius gauges, angle gauges, and micrometers.
“Prior to implementing FARO solutions, inspection bottlenecks slowed production considerably,” admits Sutter. “Previous solutions were unable to consistently meet tolerance specifications and precision requirements. They were not able to inspect large parts or complex geometries. Measurement repeatability was also an issue.
We are now actually seeing new business opportunities through higher productivity and being able to meet tighter tolerances. This is a direct result of improved customer satisfaction.
Rhonda Sutter
Quality Assurance Manager at Composiflex
One of the things that sets Composiflex apart is their commitment to reinvesting in tools that enable improvement.
“Several years ago, we wanted to make investments to improve our capabilities and automation of processes like inspection,” explains Matthews. “We originally purchased a non-FARO brand 3D scanner. We liked the technology, but we chose to invest in FARO products because we found they had more capabilities and were easier to use. First, we purchased an Edge ScanArm with a Laser Line Probe (LLP) scanner. Our team valued that piece of equipment so much, we decided to further expand our capabilities with a Quantum ScanArm probe fitted with the high-definition LLP scanner.”
This commitment is leading the organization into expanding fields of opportunity.
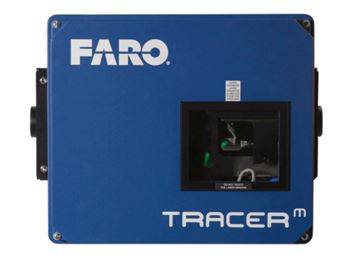 “We have an important initiative to achieve NADCAP accreditation, which is a very deep dive in aerospace manufacturing processes,” reveals Matthews. “Because there is an increased level of sophistication required to support that market, we purchased a FARO Tracer Laser Projector.”
Some inspection requirements in the aerospace industry that are particularly difficult have to do with surfaces profiles.
“We now have applications where the surface properties, or RMS, are quite important,” says Matthews. “For example, in a parabolic dish antenna, we really had no way to measure RMS on the surface of a product before we invested in laser scanning technology.”
The healthcare industry is also growing more complex; and manufacturers wanting to capitalize on the situation to gain market-share must invest in inspection solutions that are up to the task.
“We're starting to use the FARO Tracer Laser Projector to manufacture some of our medical products,” says Matthews. “It's really helpful in reducing variation from operator to operator doing hand layup.”
Variation in manufacturing has a huge impact on capability and profitability. In verticals like healthcare, it can be critical.
“In an X-ray patient positioning application, it might not be possible to rework a critical area of a composite tabletop,” explains Matthews. “A non-uniform area may cause anomalous results, making it look like there's something wrong with the patient rather than the table. Obviously, that’s not acceptable. Rework in non-imageable areas might not be a problem, but if it’s in the wrong place, we might be looking at thousands of dollars in scrap.”
Return on Investment
Utilizing the Quantum ScanArm has resolved many of our resource issues and eliminated days’ worth of measurements, calculations and re-inspection to confirm results.
Rhonda Sutter
Quality Assurance Manager at Composiflex
Composiflex was able to realize a significant return on their investments rather quickly. According to their internal analysis, overall quality improved a whopping eighty percent and rework was slashed by approximately fifty percent. Add to that reduced manpower requirements due to the reduction in inspection time.
These and other factors resulted in the equipment paying for itself within nine months.
Summary
In summary, when Matthews and Sutter were asked to rate the FARO equipment on various criteria, this was their assessment:
| Criteria: | Rating: |
| Accuracy and repeatability | Game changer |
| Measurement speed | Game changer |
| Ease of Use | Game changer |
| Portability | Game changer |
Four Good Reasons
- Expanded business opportunities through higher productivity and ability to meet tighter tolerances.
- Improved accuracy and efficiency while reducing inspection time.
- Reduced rework by fifty percent.
- Investment paid for itself within nine months.
