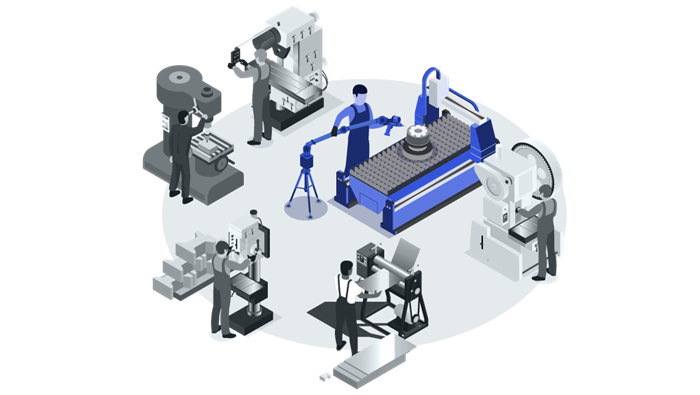
Machining parts demands extreme precision, and the tiniest error can set off a chain reaction of costly scrap, rework, or even safety issues.
3D laser measurement technology scans parts and equipment with greater precision, speed, and ease than traditional, fixed CMM systems, enhancing quality and throughput, increasing customer loyalty, and generating more revenue.
Download this guide to learn:
- How 3D measurement solutions can make your job easier – plus interviews with professionals who have implemented them at their shop
- A step-by-step breakdown of how 3D measurement solutions and software improve efficiency
- A detailed look at the type of hardware and software best suited for machining applications
Accelerate Every Step of the Machining Process with 3D Measurement Technology
See how 3D technology simplifies and speeds up the entire machining process while increasing accuracy across the board

With Traditional Methods

With manual measurement methods, aligning the part to the machine axis is time-consuming, prone to accidental error and just plain difficult.

Without the ability to inspect the part while on the machine, you are only able to catch an error once machining is complete. If there ends up being an error, you may have extensive rework which will take extra setup and machine time, or may have to scrap the entire part.

Transporting a large part to the CMM lab is not easy. Then, you might have to wait until the machine is available before you can measure the part.
If there is an issue, you’ll have to remove it from the CMM, bring it back to the production floor, then set up the machine again and rework the part.

It’s normal for machines to drift and experience changes in their axis over time, which can lead to manufacturing parts that are not within tolerance.
A traditional CMM is unable to measure these machine parameters and you may rely on a third-party company to measure your machine and adjust it.
With FARO® 3D Technology

3D tools like laser trackers can measure the coordinate system of your machine and align the part to your machine axis, speeding up the alignment process and improving the accuracy of machine operations

With 3D technology, it’s easier to pause your machining operation and measure the part to confirm that everything is correct – identifying any potential issues straight away and correcting the machine program in less time.

Portable 3D technology allows you to inspect the part on the shop floor itself, maximizing productivity and significantly reducing scrap and rework.

Laser trackers and measurement arm technology enable you to inspect and analyze your machine performance and correct it for optimal quality.
The laser tracker can measure the actual machine position versus the intended position, allowing you to recalibrate and enhance the accuracy for future projects.
