Assembly is the process of combining fabricated materials and parts into a completed product or sub-assembly intended for secondary finishing or delivery as a final manufactured good. In a perfect world, such assemblies would be completed the first time with no errors, no inefficiencies in personnel and process, and with no scrapped or reworked material: an ideal state of zero defects.
3D digital measurement tools are all about enabling a “near zero defect” economy. Instead of eliminating waste, scrap and rework outright, the goal is to reduce it as much as possible, limited only by the technologies’ sophistication and the pragmatic necessities of time and budget.
Download this guide to learn:
- How various assembly-related solutions, including portable measurement arms, laser trackers, laser projectors and companion software, enable more efficient workflows, reducing rework, waste and scrap.
- A step-by-step breakdown of how 3D measurement solutions save time, money and increase throughput; and how devices like laser trackers can reduce inspection cycle times by up to 75% compared to traditional hand tools.
- A focused look at lean manufacturing principles and how they apply to transport, motion, defects and inventory processing in an assembly environment.
- A detailed look at the type of hardware and software best suited for assembly applications in action through a case study on Brodie International, a leading manufacturer of liquid measurement and control equipment for the petroleum and industrial markets.
How 3D Measurement Technology Improves Assembly Processes
Discover how FARO® 3D measurement solutions make it easy to perform faster, more accurate inspections of parts throughout every step of assembly operations.
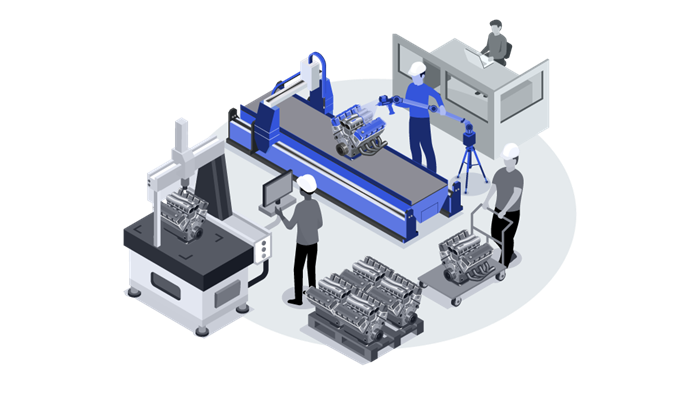
With FARO® 3D Technology

The Power of Portability
Unlike with traditional CMMs, FARO ScanArms can be positioned right on the assembly, ready to inspect fabricated materials and parts. FARO Laser Trackers can be set up in nearly any configuration and function in the most extreme environments.
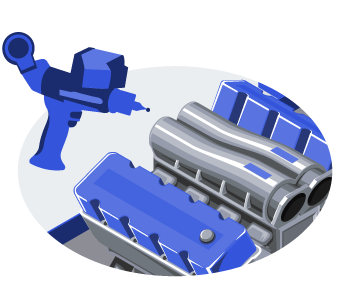
No More “Brain Drain”
ScanArms are intuitive and easy to use; no need to hire expert staff to operate or invest a lot of time and money into specialized training on integrating them on the shop floor.
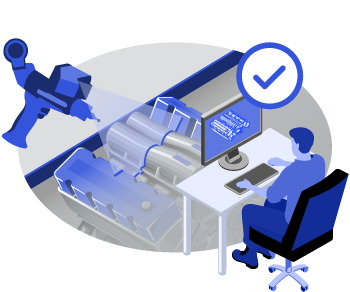
Precision Accuracy Means Peace of Mind
All ScanArms are certified according to ISO industry standards for precision up-close measurement while Laser Trackers provide long-range accuracy. In seconds, these measurements can be compared against nominal CAD data so Assembly Supervisors and Quality Control personnel can make informed adjustments.
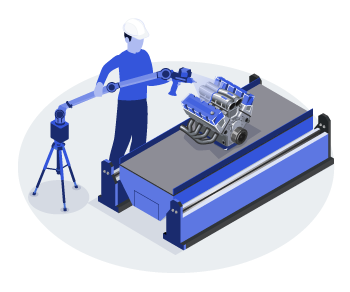
An ‘E’ for Ergonomics
FARO ScanArms offer an 8th axis for maximum flexibility; the user can scan difficult, hard-to-reach parts within an assembly but without the need to recalibrate or risk operator fatigue.
With Traditional Methods
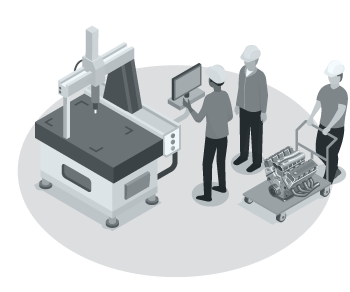
Cumbersome CMM training
CMMs aren’t the most self-explanatory tools. That means production can easily be held up if you have to wait for trained staff to be available.
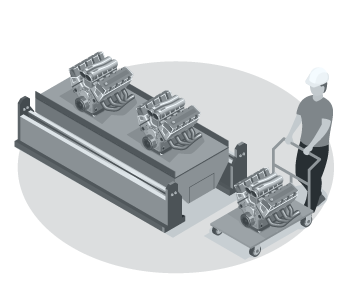
Inventory Inefficiencies
Having to move parts to a CMM lab and back is inefficient, time-consuming and creates bottlenecks as in-progress work backs up. This backlog can mean wasted hours and reduced throughput.
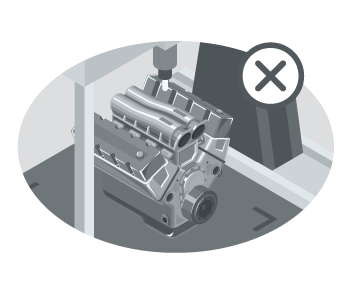
Complex Geometry Headaches
While CMMs are great for measuring things like linear dimensions, hole patterns, tapers, and circles they are less ideal for complex geometries and compound-curves, curves with varying radii.
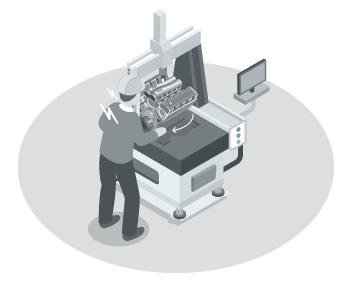
Rotational Rut
Portable measurement arms without an additional 8th axis require users to move either the part or the arm to reach every area of larger objects, increasing the risk of measurement error and resulting in time lost for part repositioning.
